Hello!
Thank you for visiting. I’m now blogging in French (oui oui) at: http://www.blossomquiltetcraft.fr
Hello!
Thank you for visiting. I’m now blogging in French (oui oui) at: http://www.blossomquiltetcraft.fr
This week-end, I went to “Symposium”. It is the national quilt event here in New-Zealand. It is held once every two years and moves from city to city. The entire local quilt community was so excited about the event that it got me excited too. The event is over four days and it was at Palmerston North this time, which is 2 hours drive from my city (so not that far). I decided to take part and check the class program. Luckily, there was one class to learn how to create a Mariner’s compass with the foundation paper piecing technique. I’ve wanted to learn this technique for a while but it was quite daunting so far. The prospect of having a teacher and fellow students was enticing. So, I picked my colours and dived into my first ever quilt class.
I was right to make that class as foundation paper piecing is a hard concept to grasp (well, to me anyway). Perforating layers of papers with your machine? What? Sewing on to paper? What? Sewing in reverse? What?
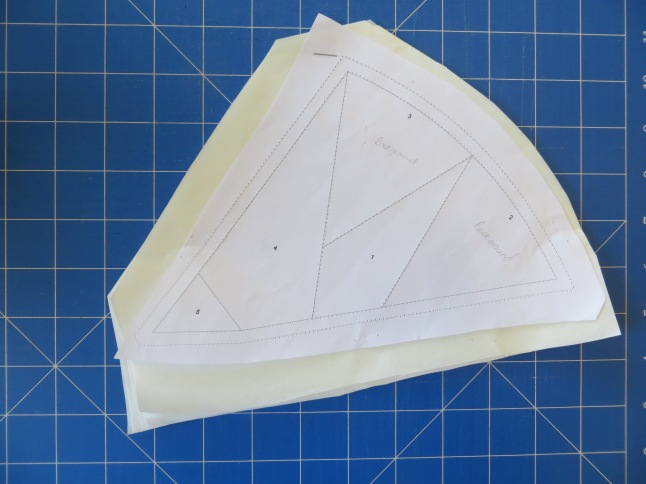
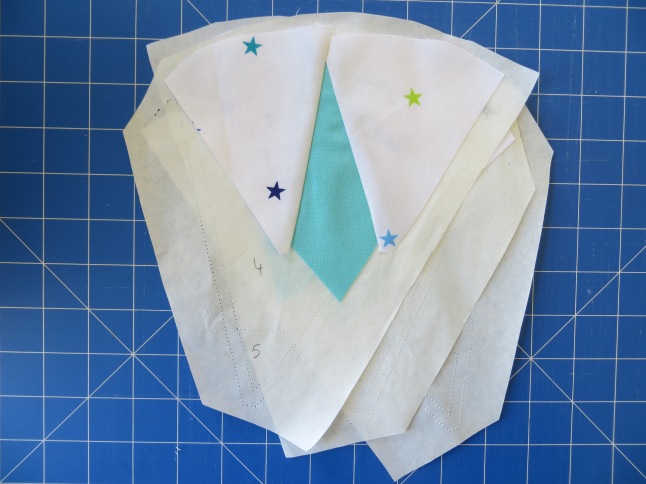
It slowly made sense and my first point was created:
The class ran for an entire day but, unfortunately, it wasn’t enough time (for us students) to finish a block. I was slightly disappointed by that but now I know the technique and I can replicate it at home. I need to work on it soon though, before I forget all the different steps.

When linking one piece of paper to the other, you can’t imagine the pride and fulfilment you get when your two corners meet so perfectly.Ha!
I can’t wait to finish this block and share it with you.
Linking up with:


I’m so excited to share this finish with you today. It was part of my Q4 finish along list and I’m very happy to have it done on time to link up. You can find the Arizona quilt top post here.
It was my first time basting such a big quilt (even bigger than my Meadow quilt) and I must admit, it was quite a challenge. I had to re-arrange and tape the quilt three or four time to the table. Next time, I’ll probably consider made it basted by someone else (our local long arm quilter offers this service for about $40).
I had fun quilting my quilt on the festive season. It was fun to quilt next to our Christmas tree while listening to music. I almost felt on holiday.

I followed a pattern from the book 1,2,3 Quilt and the quilt was quilted with wonky rectangles. I thought it was a nice effect with the piecing and I replicated it. My rectangles were very wonky, but I think it still ok.
The quilting is very dense, as I was quilting inside every single rectangles. I divided my quilt in several sections to make it more manageable and it took me two hours to quilt this tiny quarter that you see bellow. Phew! Quilting densely also means using a lot of threads, I kept buying more and more thread. I ended up using more than 1 000m of thread just for the quilting alone.

And here is the quilt finish! It was hard to take a picture as my city is so windy. With the help of hubby, we managed to have this one:
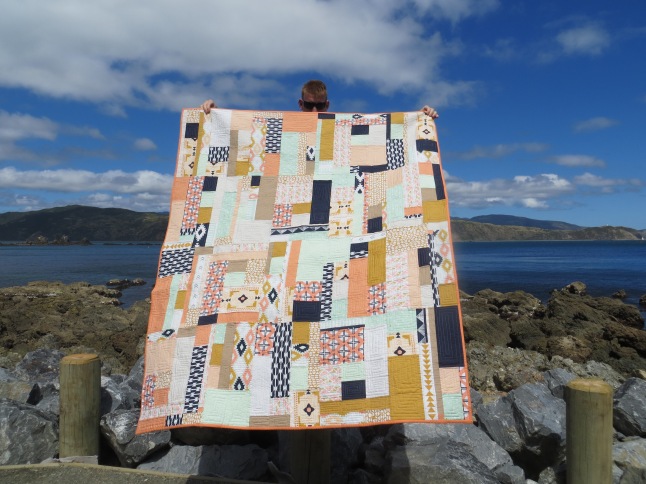
I struggle to find the perfect binding for this quilt and finally settle for a solid colour from the Kona range. It’s a lovely peach colours that lights up the quilt top and bring back to baking to life.
 While quilting I was concerned that it would be too dense and too stiff, but it wasn’t. I love the texture.
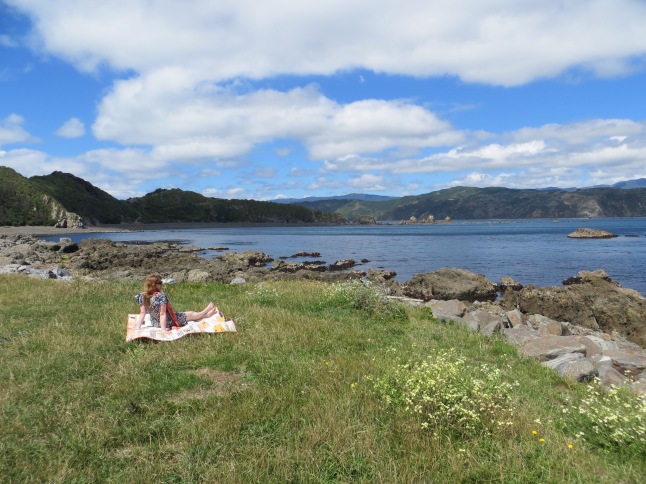
 I couldn’t resist it, I had to try the quilt and admire the view for couple of minutes. We live in such a beautiful city.
Hello, here is a new post about our Round Robin group:

This time, I received Serena’s centre block from Rebecca. I was very anxious to receive this quilt top as many layers were paper pieced (3 out of 4) and I never tried this technique before. All the ladies did an amazing job with the rainbow colours and I had no idea how to keep up with the skills and creativity level.
My first thought was to keep the same block size as a nine patch and create some stars, keeping the rainbow colours. I looked online and found the friendship star block. I liked the name, I liked the shape, I was sold!
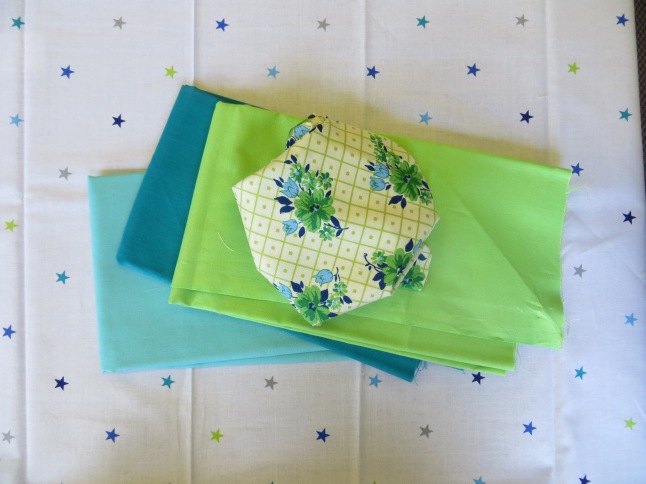
The only issue was to find some rainbow fabric. I don’t have an extensive stash and most of my fabric are florals, so not ideal for that project. To my surprise, many people were keen to help and I went through everyone’s stash in Wellington to find the fabric I needed.
 I had to find four different shade of one colour plus a tiny piece to fussy cut to add a little bit of interest at the centre of the star. I bought the background fabric at the local store and it’s funny how the design replicate the quilting I’m currently doing on my Arizona quilt.

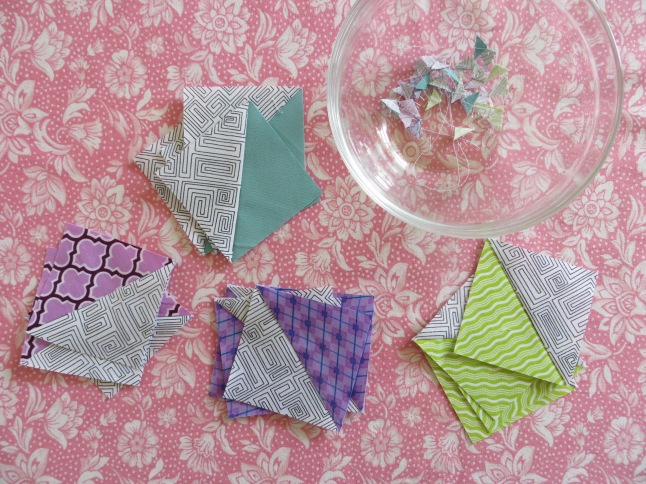
I love the result, each star is so special. The star bellow is made of scraps from Deb (I believe the “Cat nap” line) and the centre is from my stash (“Sweet as honey” line).
 My colleague advised me to switch slightly the colours to give a bit of a movement to my border. I thought it was a good idea.

When talking to Wendy, the next person for this quilt, she says she might not use the rainbow colour. I wasn’t brave enough the break to rainbow but I’ve included black wonky stars blocks at each corner to introduce new tone. Hope it would be helpful for her.

I love the result and I’m quite proud of myself. At the start, I really had no idea how to keep up with the level but I think the result looks nice and blend well with the spirit of this quilt. Yay!
Don’t forget to check my Possum Magic friends over here:
Linking up with:


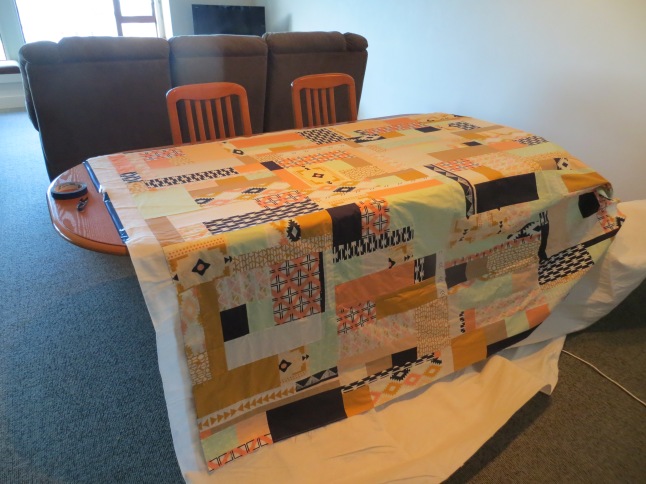
This Sunday, I pieced my Arizona blocks together and I now have a quilt top! I followed a pattern called “Random Rectangles Quilt” from the book 1,2,3 Quilt. The author (Ellen Lucket Baker) had a layout option that I followed until I shuffle things around a little bit. I love the look of it! It looks very random but it’s in reality made of a repeat of four different blocks.

I live in Wellington and this city well deserved its nickname: Windy Welly! I tried to take pictures of this top several days in a row without much success. I finally gave up and wearing my quilt top as a scarf was way more efficient than trying to take a picture of it. Oh well!

I know what quilting I want to do on that one, so I just have to buy the batting and a backing fabric and I would be ready to go (hopefully this weekend).
Linking up with:
